
There are so many ways to shape your nails, and each one shifts the overall look. Some shapes feel bold and dramatic, others stay soft and natural. Oval sits right in the middle. It follows the natural curve of your fingertip but adds a bit more length and structure.
It is not as sharp as almond and not as simple as round. That is exactly why it works. You get a shape that looks intentional without feeling overdone.
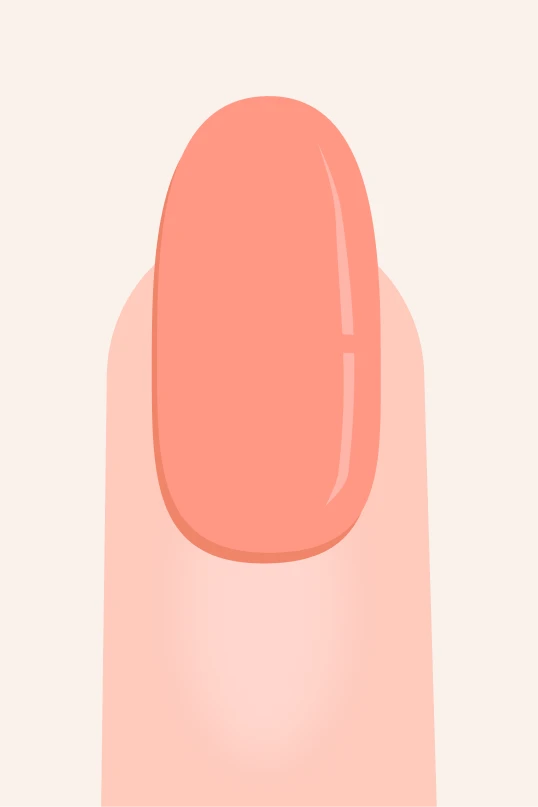
Oval nails are more refined version of round nails with added length and structure. The sides taper slightly inward and the tip forms a smooth curve that extends past the fingertip.
This shape does not rely on sharp angles or dramatic points. It keeps everything soft and controlled while still improving how your hands look.
You get a cleaner, more elegant result without making your nails harder to manage.
Why Oval Nails Are So Popular
1.
Oval nails have that balance most people are looking for. They make your fingers look a little longer and slimmer, but they do not require extreme length to work.
2.
They also adapt easily. You can keep them bare and clean, or add color and still keep that polished look. They never feel too much.
3.
Trends change, new shapes appear, but oval nails stay relevant because they fit into almost any style without effort.
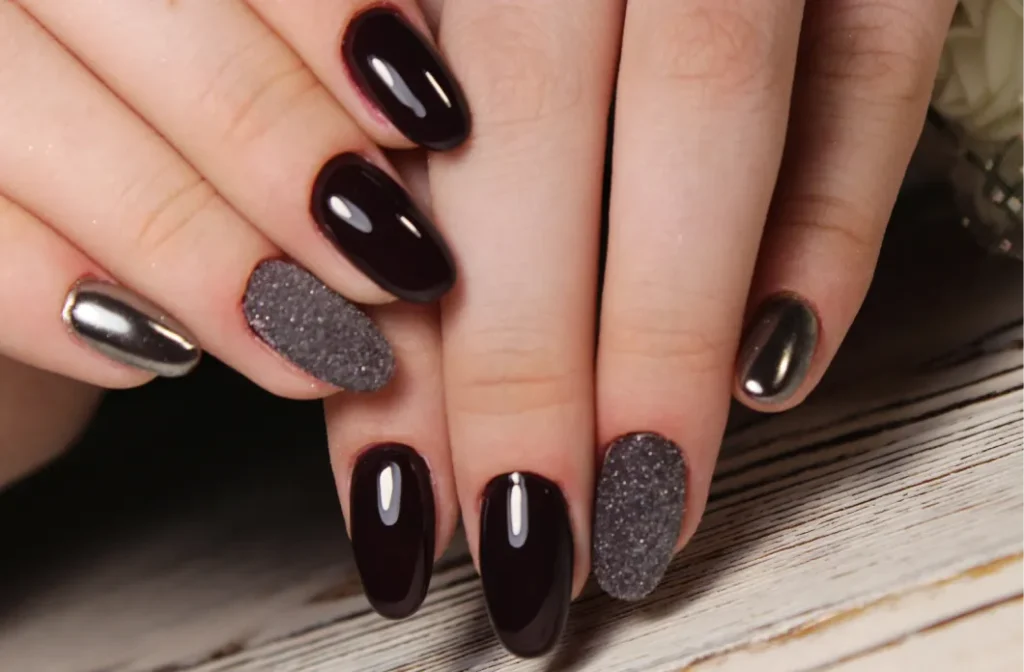
Who Should Choose Oval Nails
You want your fingers to look longer
Your nails are medium or long
You like a soft but polished look
You want something more refined than round
If you are not sure what to choose, this is usually a safe step up from basic shapes without jumping into something high maintenance like stilleto shape.
When Oval Nails Are Not the Best Choice
Oval nails need some length to show their full effect. If your nails are very short, the shape will look closer to round and lose that elongated feel.
They are also not the strongest option. The slight taper makes them more fragile than round nails, especially if your nails are thin or prone to breaking.
If you prioritize nail durability or you prefer bold, statement shapes, there are better options.
How to Shape Oval Nails Step by Step
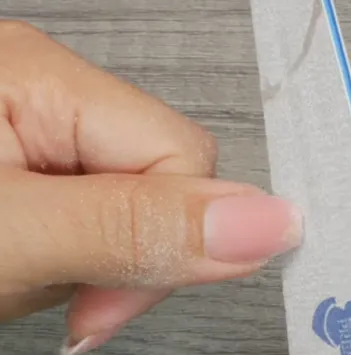
1. Create a Straight Base
Start by filing your nail straight across. This gives you a stable base to work from and prevents uneven shaping later.
Keep your file flat and use gentle strokes. Do not rush. The cleaner your base, the easier the rest becomes.
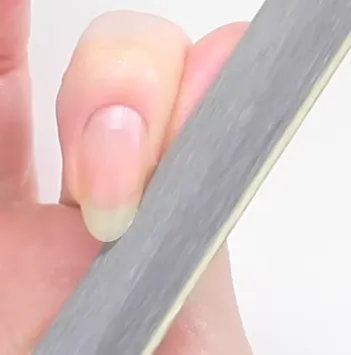
2. Taper the Sides Inward
Once the base is set, begin shaping the sides. File from the outer edges toward the center, following a slight inward angle.
Do this slowly and switch between both sides often. If you focus on one side too long, you will lose symmetry. The goal is a gradual taper, not a sharp angle.
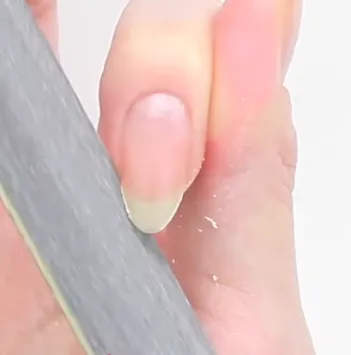
3. Keep Both Sides Even
After a few strokes, stop and check your nail from the front. This view shows whether both sides match.
If one side curves more than the other, correct it immediately.
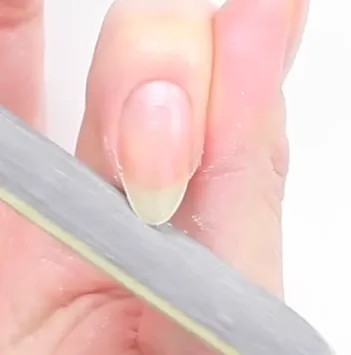
4. Round the Tip
Work slowly from side to side. Symmetry is what makes the shape look clean and intentional.
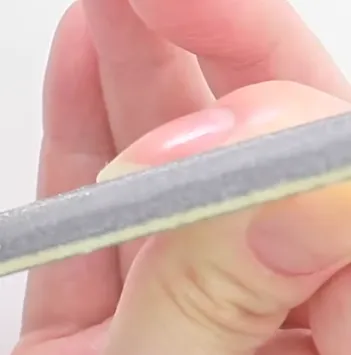
5. Refine and Smooth the Shape
Look at your nails head on, not just from above. This helps you spot imbalance early.
Aggressive filing weakens the nail. It may look fine at first, but it increases the chance of splitting or breaking later. If you want a deeper explanation, read → how to file your nails correctly
Oval vs Other Nail Shapes
Oval nails sit between natural and more defined shapes. Compared to round nails, they create more length and look more polished. Round nails stay closer to the fingertip and focus more on durability.
Compared to Almond nails, oval nails are softer and easier to maintain. Almond has a sharper finish and creates a stronger elongating effect, but it also requires more precision.
Square nails offer more strength, but they lack the smooth, elongated look that oval nails provide.
Oval Nails on Short vs Long Nails
On short nails, oval shape looks subtle. The curve is there, but the elongation is limited. It often blends into a round shape because there is not enough length to build a strong taper.
On longer nails, the shape becomes more defined. The sides pull inward and the tip extends, creating a cleaner and more elegant look. This is where oval nails really stand out.
Oval Nail Design Ideas
French tip
Natural base with white tips. Clean and timeless. Works especially well on oval because it elongates the fingers.
Ombre french tip
Soft fade from pink to white. No harsh line like classic French. Very popular for a natural look.
Solid color
Single color across the whole nail.
Chrome / glazed nails
Shiny, mirror-like finish. Popularized by the “glazed donut” look.
Matte finish
No shine. Can be combined with glossy details for contrast.
Cat eye
Magnetic polish creates a moving, reflective stripe effect.
FAQ
Yes. Oval nails are less likely to break than sharp shapes like square or stiletto. The rounded edges reduce stress points. This helps prevent cracks and snagging.
Oval nails have fully curved edges and a soft tip. Rounded square nails have straight sides with slightly curved corners.
Oval looks more elongated and elegant. Rounded square looks more structured.
On long fingers, oval usually looks better. It enhances length and keeps proportions balanced.
They are durable, elegant, and versatile.
They make fingers look longer and slimmer.
They work well with most nail designs.
They are also practical for daily use because they do not snag easily.
Yes. Oval nails visually lengthen short fingers. The curved shape draws the eye outward, creating a slimmer and longer appearance.
Short to medium length works best. Too short makes the shape less visible. Too long can make it look narrow and weak. A balanced length gives the cleanest result.
