
Ever watched someone create intricate mehndi patterns and thought, “I could never do that”? Here’s the truth: you absolutely can. Starting with easy mehndi designs doesn’t require artistic genius or years of practice. You just need the right guidance and a willingness to try.
Understanding Mehndi Basics Before You Start
Henna comes from the Lawsonia inermis plant. People have crushed its leaves into paste for over 5,000 years. The natural dye molecule, lawsone, binds with proteins in your skin to create that rich, reddish-brown stain we all love.
Fresh henna paste produces the best results. You’ll notice it develops from orange to deep maroon over 24-48 hours. That’s completely normal! The paste itself looks dark green or brown, but don’t panic when you see orange initially.
Key facts about henna:
- Natural stain lasts 1-3 weeks depending on care
- Darker on palms and feet (thicker skin)
- Takes 24-48 hours to reach peak color
- Completely safe and non-toxic when pure
What You Need to Know About Henna
Henna comes from the Lawsonia inermis plant. Crushed leaves create the powder that becomes your mehndi paste. This natural dye has adorned hands and feet for over 5,000 years across Middle Eastern, African, and South Asian cultures.
The paste itself contains lawsone, a natural dye molecule. When applied to skin, it binds with keratin proteins. You’ll notice the stain darkens over 24-48 hours, reaching peak color around day two or three.
Fresh henna produces reddish-brown to dark brown stains. If someone offers you “black henna,” run the other direction. That stuff contains harmful chemicals like PPD that can cause severe allergic reactions.
Expected Results:
- First 24 hours: Orange to light brown
- After 48 hours: Deep brown to maroon
- Duration: 1-3 weeks depending on care
Essential Tools Every Beginner Needs
Let’s talk supplies. You don’t need much to start:
- Ready-made mehndi cones (grab these first—they’re foolproof)
- Practice sheets with printed designs
- Cotton swabs for quick fixes
- Lemon-sugar mixture for sealing
- Eucalyptus or lavender oil for deeper color
- Tissue paper for cone-making if you go DIY
Ready-made cones save you tons of hassle. They’re consistent, easy to use, and won’t frustrate you while you’re learning. Save the homemade paste experiments for later.
Quick Cost Breakdown:
| Item | Approximate Cost | Where to Buy |
|---|---|---|
| Ready-made cones (pack of 5) | $8-15 | Amazon, local stores |
| Practice sheets | $5-10 | Online printables |
| Lemon-sugar sealant | $3-5 | Kitchen supplies |
| Essential oils | $5-15 | Health stores |
Easy Mehndi Designs Perfect for Beginners
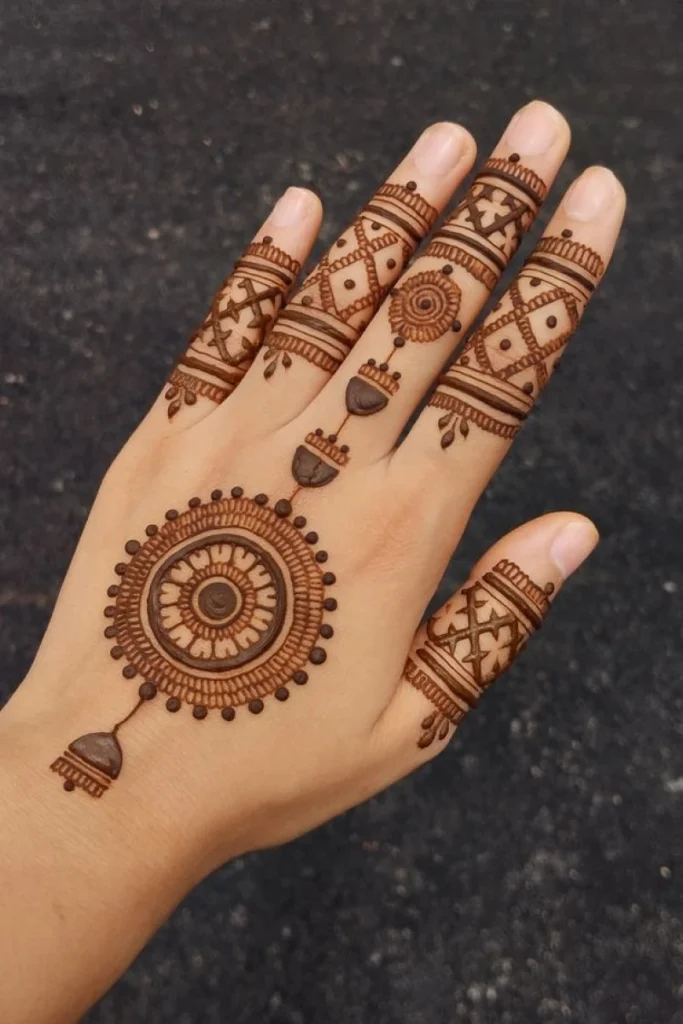
Back Hand Mehndi Designs
Your hand’s back provides a flat canvas. That makes it ideal for practicing.
Start with a central focal point—perhaps a simple flower or mandala. Branch outward using vines, leaves, or dots. Arabic-style designs work wonderfully here because they emphasize bold lines with ample negative space.
Try a corner design first. Position a floral motif near your wrist or on one side of your hand. This approach looks intentional and elegant without requiring full-hand coverage. You’ll finish faster and feel accomplished.
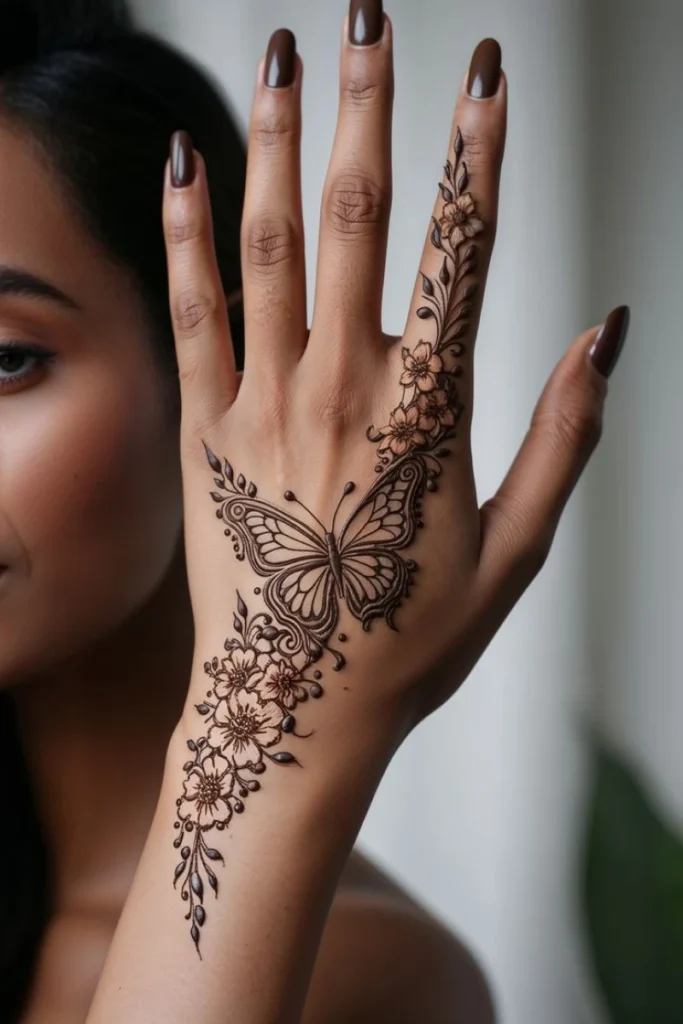
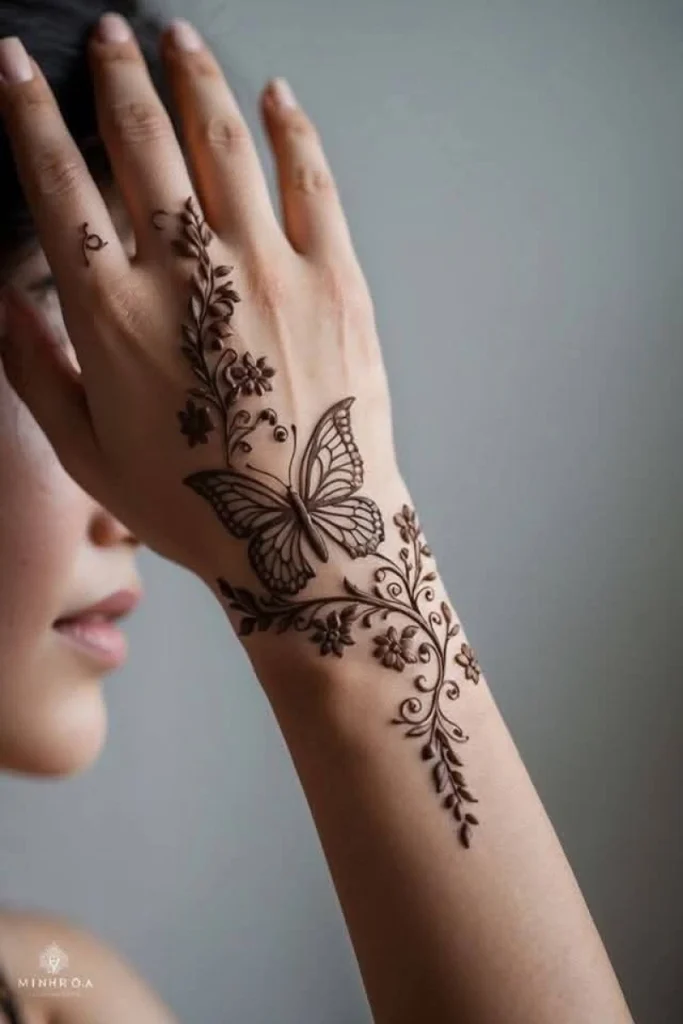
Butterfly Mehndi Designs
butterfly mehndi design showcases delicate symmetry and detailed henna work.
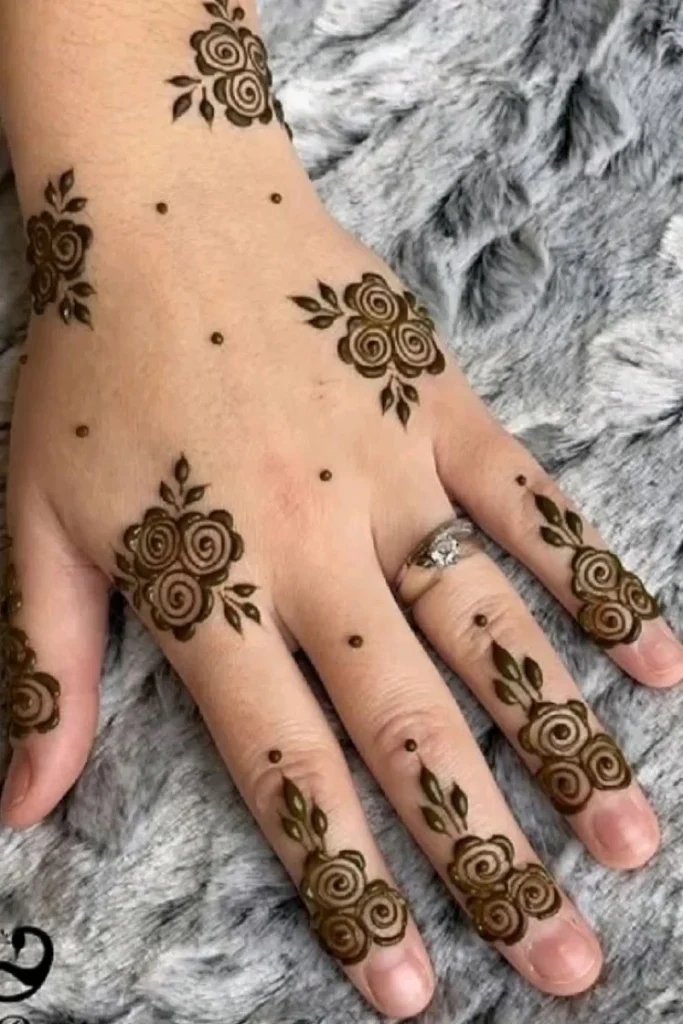
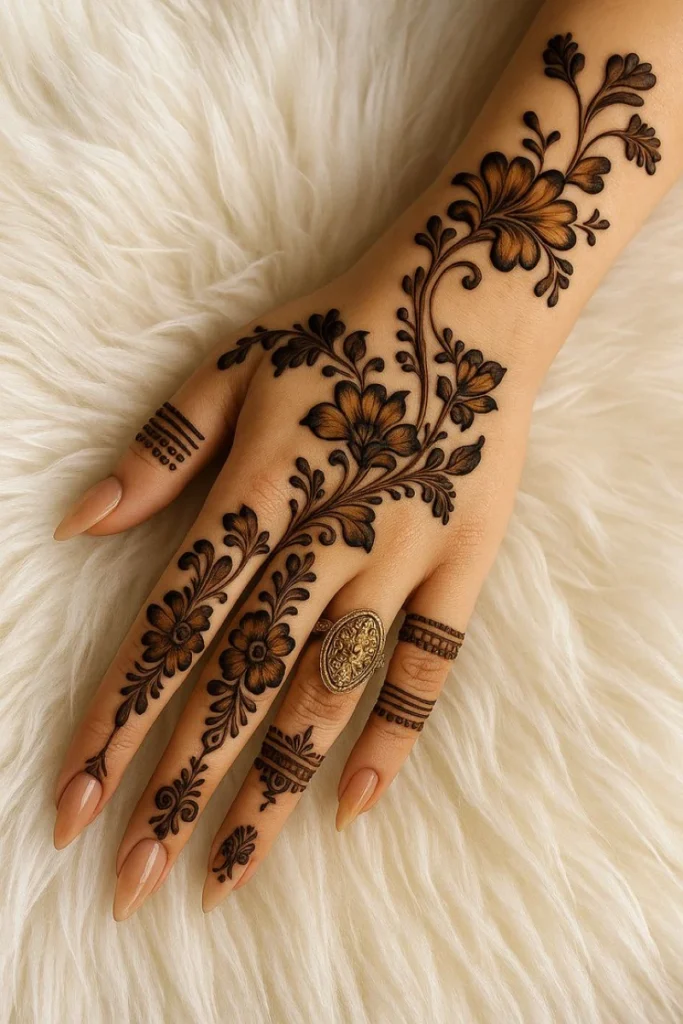
Floral Mehndi Designs
Delicate floral mehndi inspired by nature, grace, and timeless beauty.
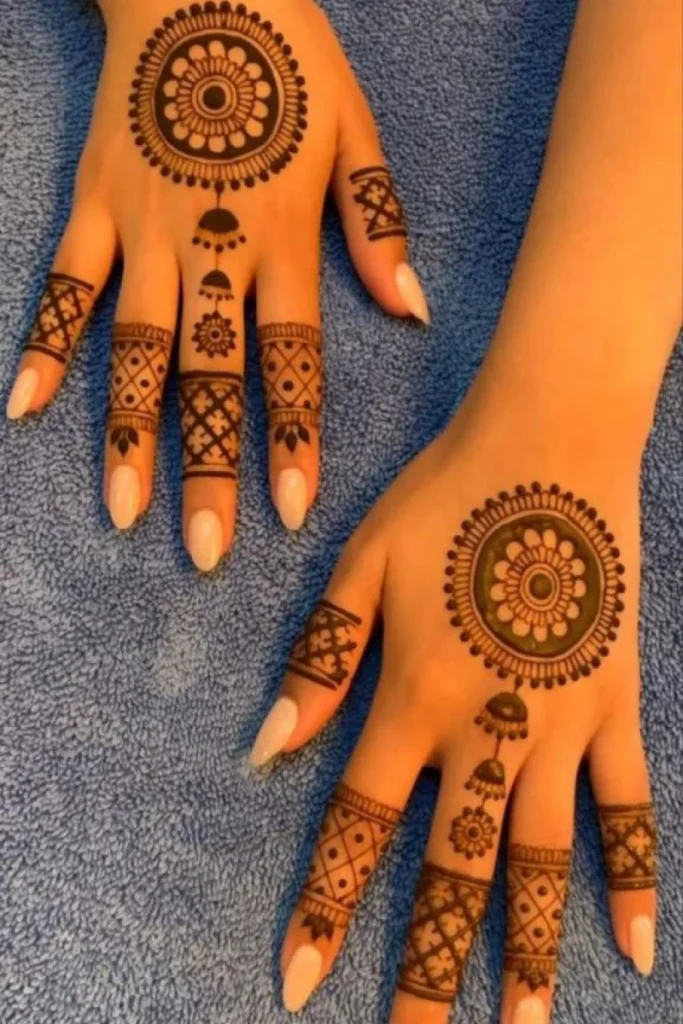
Mandala Mehndi Designs
Intricate mandala mehndi inspired by balance, symmetry, and inner calm.
Beginner-Friendly Palm Mehndi Designs
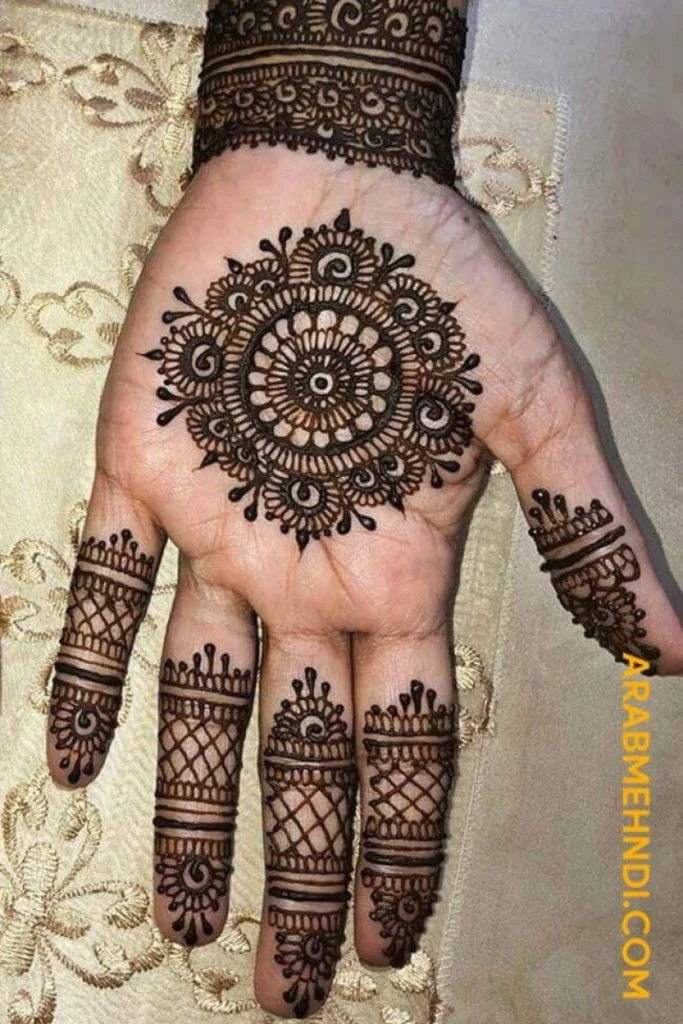
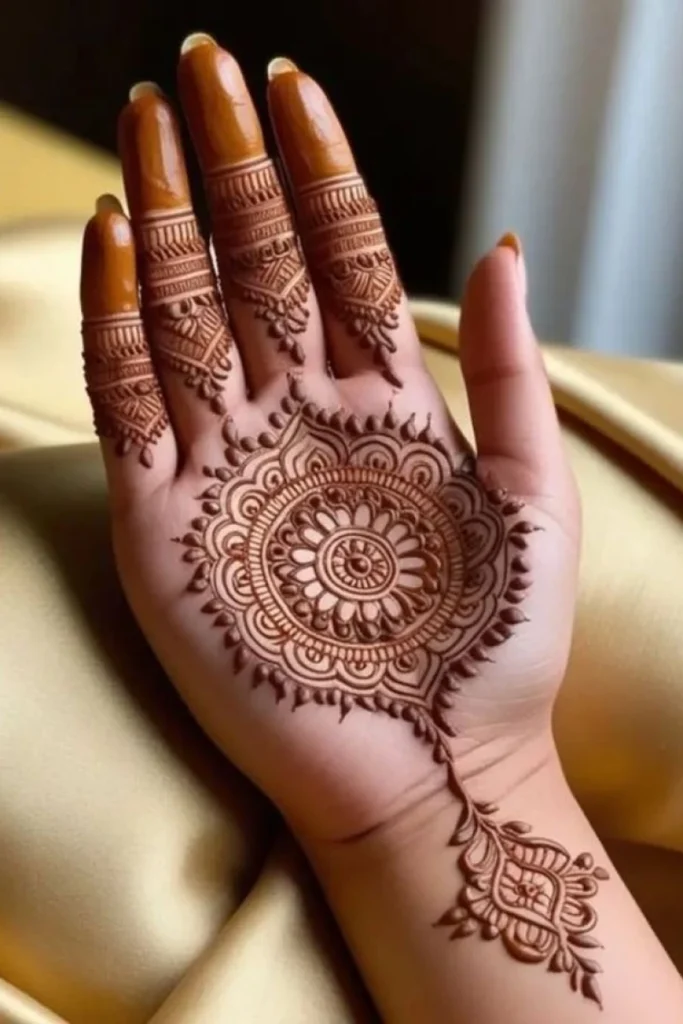
Palm designs intimidate many newcomers. Here’s the truth: you don’t need intricate patterns to create impact.
Start with a central circle or flower. Build outward with simple petals, dots, or radiating lines. The palm’s natural contours guide your design flow beautifully.
Grid-based layouts work wonders for beginners. Draw a simple cross or circle in your palm’s center, then fill each section with repetitive patterns. This technique keeps everything balanced without requiring advanced skills.
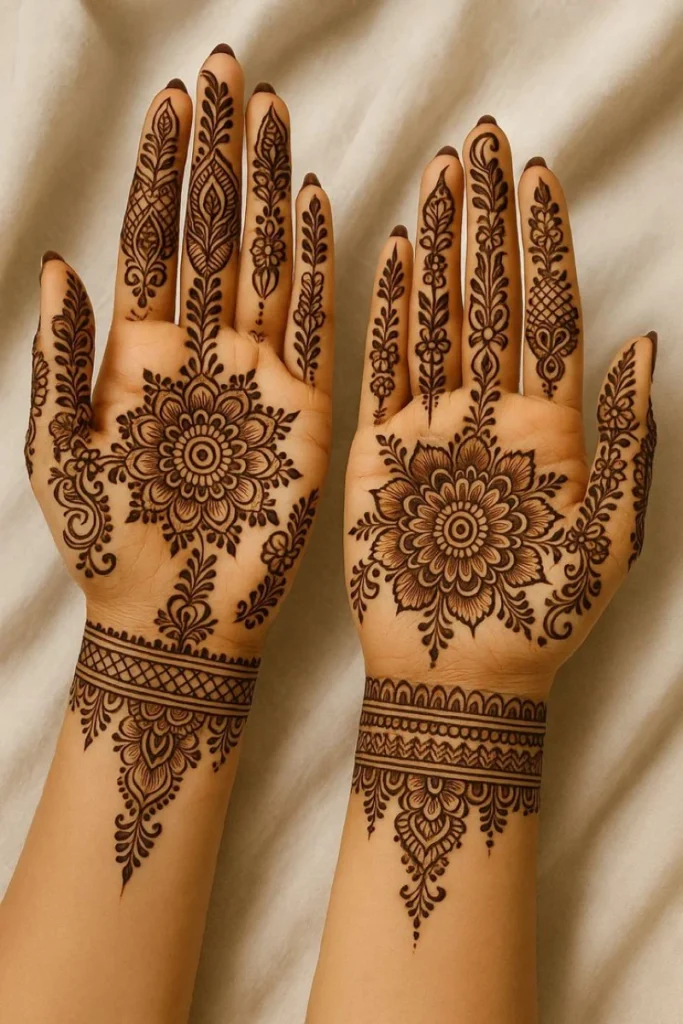
Palm Floral Mehndi Designs
Intricate palm mehndi with classic floral details.
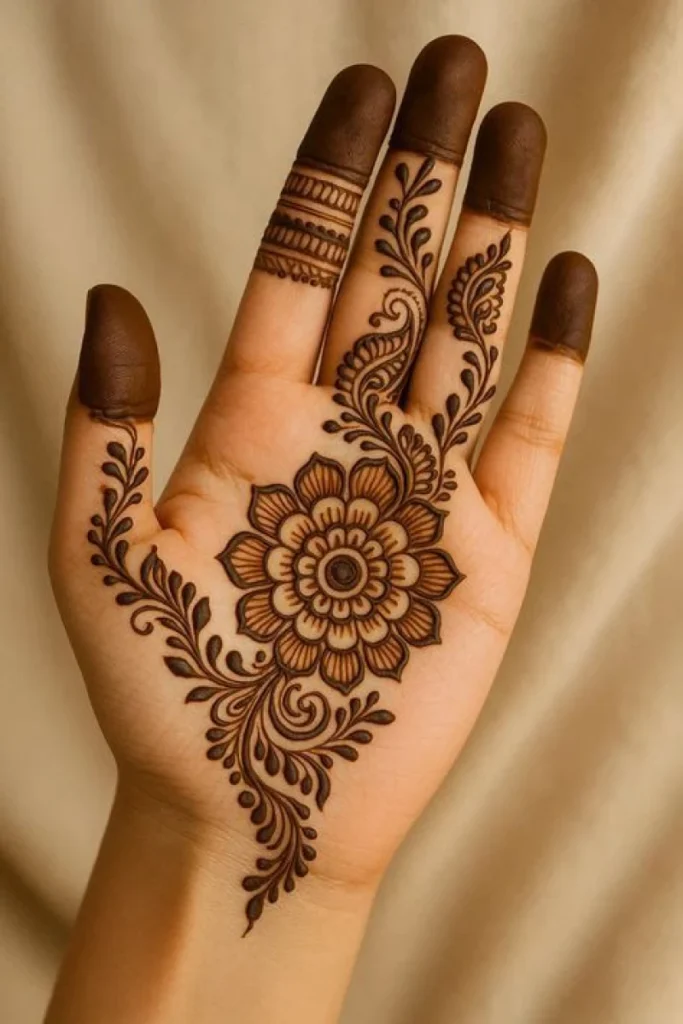
Palm Floral Mehndi Designs
Intricate palm mandala mehndi inspired by balance and symmetry.
Step-by-Step Tutorial: Your First Simple Mehndi Design
Let’s walk through creating your very first design. We’ll keep it achievable yet beautiful.
Design Selection and Preparation
Choose a corner design for the back of your hand. These require less precision than centered patterns and forgive minor inconsistencies.
Practice on paper first. Seriously—this step matters. Draw your chosen design three to five times before approaching skin. Your confidence will skyrocket.
Set up your workspace properly. You’ll need good lighting, a comfortable seating position, and all materials within easy reach. Remove distractions. Mehndi demands focus.
Application Process Breakdown
Start at the base of your pinky finger. Most corner designs work outward from this point.
Draw your primary element first—maybe a simple flower. Five petals, a circle center. Nothing fancy. This anchors your entire design.
Add secondary elements next. Perhaps leaves extending from your flower, or small dots creating a trail toward your wrist. Build gradually rather than jumping around.
Maintain consistent pressure. Your cone should glide smoothly without digging into skin. If paste stops flowing, gently squeeze. If it floods out, lighten your grip.
Fill spaces thoughtfully. Mehndi isn’t about covering every millimeter. Strategic empty space actually enhances designs. Less often equals more elegance.
Drying and Aftercare
Leave the paste on for minimum four hours. Six to eight hours produces better results. Overnight? Even better, though admittedly less convenient.
When removing, scrape—don’t wash. Use a butter knife edge or your fingernail to gently scrape away dried paste. Water at this stage lightens the final color.
Apply a mixture of lemon juice and sugar immediately after removal. This seals the stain and enhances darkness. Let it dry naturally, then wipe away.
Avoid water contact for the next 12-24 hours. This waiting period allows the stain to fully oxidize and reach its darkest point.
You’ve got everything needed to begin creating beautiful, easy mehndi designs. Remember, every expert was once a beginner holding a cone nervously, wondering if their first flower would even resemble a flower.
Start simple. Practice consistently. Celebrate small victories—that first smooth line, your first completed design, the moment someone asks, “Did you do that yourself?”
FAQ
Basic designs? You'll manage decent results within a week of daily practice. Intermediate skills develop over 2-3 months. Mastery? That's a lifelong journey. But beginners often create lovely, wearable designs within their first month.
Absolutely. Most skilled mehndi artists are self-taught. YouTube tutorials, practice sheets, and patient experimentation teach effectively. Classes help but aren't mandatory.
Simple vines with leaves and dots. These flowing patterns forgive wobbly lines and imperfect shapes while teaching essential pressure control and cone handling.
Several factors affect darkness: old or poor-quality henna, insufficient drying time, washing too soon after removal, or naturally light-staining skin chemistry. Try leaving paste on longer and avoiding water contact post-removal.
No. Avoid black henna entirely. Authentic henna produces reddish-brown stains, never black. "Black henna" contains harmful chemical additives (often PPD) that cause severe allergic reactions, scarring, and lasting damage. Stick with natural brown henna always.
